
Understanding common rowing machine injuries
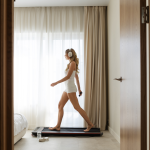
Indoor rowing has gained significant popularity in recent years as a joint-friendly, holistic workout that combines endurance and strength. Its appeal lies in its accessibility: anyone can sit on a rowing machine and train multiple muscle groups simultaneously, without the joint stress of running or contact sports. However, although rowing is considered a safe form of exercise, the Injury prevention on the rowing machine A key issue for athletes, fitness enthusiasts, and recreational rowers alike. The repetitive motion of the rowing stroke, combined with faulty technique or overtraining, can lead to specific injuries that hinder progress and diminish the benefits of this excellent training.
The most common rowing machine injuries affect three areas: lower back, knees and upper extremities (shoulders and wrists)Back pain often arises from excessive flexion of the lumbar spine during the drive phase – when the legs push and the torso is activated. Many people tend to round their backs instead of maintaining a neutral spine, which puts pressure on the intervertebral discs and surrounding muscles. knee painInjuries, particularly in the area of the kneecap (patellofemoral joint), often result from incorrect movement – when the knee is not in line with the thigh – or from hyperextension in the final phase of the stroke. Shoulder and wrist problems These injuries often result from gripping too tightly, incorrect grip position, or repetitive strain on the tendons. These injuries are preventable – they simply highlight the importance of targeted training. Strategies for injury prevention in rowing are necessary to ensure long-term health and performance.
Understanding these risks shouldn't discourage rowing, but rather empower rowers to train smarter. By identifying the causes – from technical errors to overtraining – the following sections outline practical measures to avoid them. From learning the correct technique to consciously perceiving bodily signals, each strategy plays a crucial role in safe, effective training.
Master the correct rowing technique
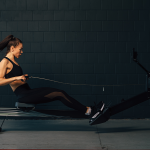
At the center of the injury prevention is the correct techniqueA complete rowing stroke consists of four phases that require precise coordination of legs, torso, and arms to distribute the load evenly.
Phase 1 – The “Catch” (Preparation): The knees are bent, the shins vertical, the back straight. The arms are extended, the grip is held loosely, and the body is close to the front of the machine. This starting position is crucial: A neutral spine (neither rounded nor hyperextended) protects the lower back, and the correct leg position allows for efficient power transfer.
Phase 2 – The “Drive” (propulsion): This is where the main power of the stroke originates. Contrary to popular belief, the drive begins with the legs – by pushing against the footrests – and not with the arms or back. As the legs extend, the core muscles stabilize the upper body, followed by a controlled arm movement towards the abdomen. This sequence (Legs → Torso → Arms) is the core of a safe rowing technique: It prevents the lower back from being overloaded and distributes the force to larger muscle groups.
Phase 3 – The “Finish” (final position): The legs are stretched out, the arms are brought towards the lower rib region, the back is slightly inclined backwards.
Phase 4 – The “Recovery” (Return): The return to the starting position is in reverse order (Arms → Torso → Legs) – calmly and in a controlled manner, without jerky movements.
Incorrect technique is one of the main causes of injuries. A rounded back during the drive puts strain on the intervertebral discs, pulling the arms too early overtaxes the shoulders and forearms, and hyperextended knees destabilize the pelvis. Improving your technique through self-observation, video analysis, or with the help of a coach can drastically reduce your risk of injury – and simultaneously increase the efficiency of each stroke.
Warming up before rowing
Injury prevention begins before the first blow – with a targeted warm-up program. An effective warm-up prepares muscles, tendons, and joints for the dynamic movements of rowing, reduces stiffness, and improves blood circulation. Skipping this phase is a common mistake: Cold muscles are less elastic and therefore more susceptible to micro-injuries.
A good warm-up program focuses on the areas used during rowing: hips, knees, shoulders and lower back. Dynamic stretching It is ideal because it mimics the rowing motion and increases the range of motion. leg swings (forward and lateral) loosen the hip flexors and improve pelvic mobility. Knee-to-chest movements They stretch the lower back and the hamstring muscles. Arm circles and diagonal arm movements Activate shoulders and upper back. An additional 2-3 minutes are also suitable. light endurance sports – for example, jogging in place or jumping jacks – to stimulate circulation.
The goal is to improve the body from sleep to active mode to reposition. Investing 5-10 minutes in this preparation significantly reduces the risk of injury and ensures smoother, more efficient movements.
Adjust the rowing machine correctly
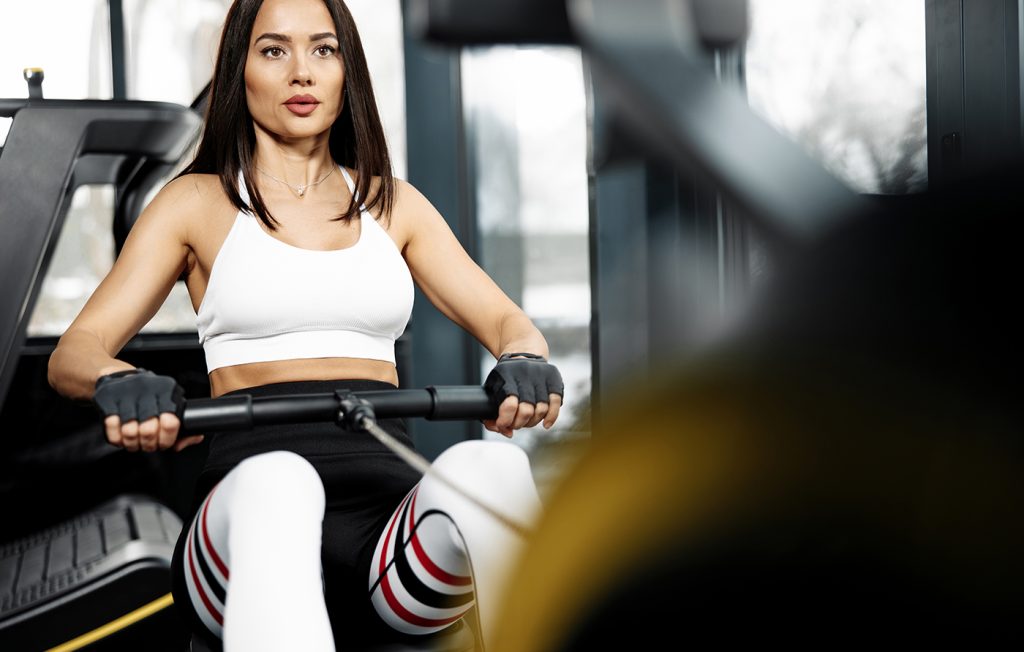
Even with perfect technique, a incorrect device setting This increases the risk of injury. The rowing machine can be individually adjusted – but only if the foot position, seat, and handle are correctly adjusted.
The foot straps They should secure the ball of the foot (not the instep or heel) and fit snugly but not constrictingly. Straps that are too loose will cause the feet to slip, which can lead to compensatory movements in the knees and back. Seat It must glide smoothly and without resistance. Handle It should be positioned so that the arms can be naturally extended during the forward movement without overextending the shoulders or rounding the back.
The way food is Resistance setting (damper) It does play a role. Many beginners choose settings that are too high (above level 6) because they believe this will make their training more intense or "realistic." In reality, this only increases the load without improving technique. A range of Stages 3–5 It is optimal for most people – it allows for a controlled, flowing stroke with a focus on technique rather than power.
Balanced training habits
Injury prevention also means training to create a balanced. Overuse injuries These problems are common among rowers who train too often and too intensely without sufficient recovery. The repetitive rowing motion can lead to tendon irritation, muscle imbalances, or joint fatigue if regeneration is lacking.
The secret lies in Measure and varietyAvoid daily high-intensity sessions (e.g., 30 minutes of full-throttle rowing). Instead: Mix moderate units, short interval training sessions and rest days. Combination training Activities such as swimming, cycling or yoga help to relieve overworked muscle groups while maintaining overall fitness.
Equally important is the Listen to your own bodyPain is a warning signal, not a challenge. Learn to distinguish between normal muscle soreness (disappearing after 24–48 hours) and signs of injury (persistent pain, swelling, numbness, limited range of motion). If you experience discomfort: reduce intensity, check your technique, or take an extra rest day. "No pain no gain" is a myth – sustainable progress comes from rest and mindfulness.
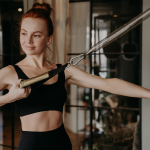
Strengthen supporting muscles
Rowing primarily works the legs, torso and back – but supporting muscles are equally important. Weakness or imbalance leads to compensatory movements and increases the risk of injury. Supplementary exercises strengthen these muscles, improve posture and stability.
trunk strength The key is a stable core (abdominal muscles, obliques, lower back) that keeps the upper body upright and in control. Suitable exercises: Planks (front and side), Bird Dogs, Dead Bugs. glutesWeak gluteal muscles cause the back to do too much work. Exercises like glute bridges, clamshells, or hip thrusts activate the gluteal muscles and promote stable hip extension. Upper backStrong rhomboid and trapezius muscles help prevent shoulder problems. Light rowing exercises with dumbbells, face pulls, or scapular push-ups are ideal.
10-15 minutes, two to three times a week, are enough to strengthen the supporting muscles – for better performance and fewer injuries.
Pay attention to your body's signals
The last – and often overlooked – aspect of injury prevention is the Mindful perception of one's own body signalsEveryone reacts differently to stress. What is a slight pulling sensation for one person can be a warning sign for another.
Normal muscle soreness (DOMS) It typically occurs 24–48 hours after training and disappears with movement or gentle stretching. Warning signs of injuries, on the other hand, are persistent, stabbing pain, swelling, numbness or restricted movementThese should never be ignored. Instead, you should immediately reduce the intensity, adjust your technique, or take a break.
Observe how your body reacts: If your lower back is tight after a session, focus on core activation next time and reduce the resistance. If your knees hurt, check your foot position and axis of movement. Small adjustments—such as shorter pulls or longer rest periods—prevent minor problems from developing into serious injuries.