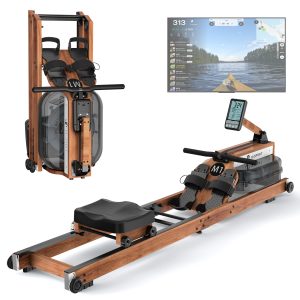
Build your own wooden rowing machine – The ultimate DIY guide
Have you been dreaming of a rowing machine for your home for a long time, but the prices in stores put you off? Don't worry! In this article, we'll show you how to build your own rowing machine out of wood in a few simple steps. It's not only a cost-effective alternative, but also a great DIY project that will challenge you creatively.
Materials and tools required
Before you start building your own rowing machine, make sure you have all the necessary materials and tools on hand. Here is a list of what you will need:
- wooden boards in different sizes
- rolling seat
- rowing machine mechanics
- screws and nails
- Saw
- Abrasive paper
- paint and brush
Step-by-step instructions
Step 1: Create the foundation for your rowing machine by cutting and sanding the wooden boards. Make sure the dimensions are accurate to ensure a sturdy machine.
Step 2: Attach the rolling seat to the wooden base. Make sure it is securely and stably attached so that it can withstand the movements.
Step 3: Attach the rowing machine mechanism. This mechanism is the heart of your rowing machine and ensures smooth rowing.
Tips for a successful DIY project
– Use high-quality materials to ensure your rowing machine is durable.
– Be patient and precise at every step to avoid mistakes and achieve a professional end result.
alternatives and adaptations
If you don't have the necessary tools or want more convenience, you can also purchase and customize ready-made wooden rowing machine kits. These kits typically include everything you need to build your own rowing machine without starting from scratch.
Conclusion
Building a wooden rowing machine can be a rewarding experience that not only improves your fitness but also challenges your craft skills. Follow our instructions and give your body and mind a great workout tool that you created yourself!