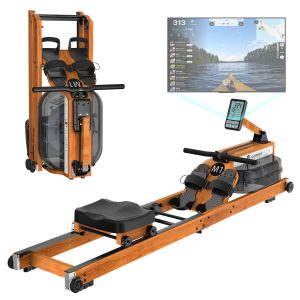
Rowing Machine Cable Repair: Tips and Tricks for Home
If the cable system on your rowing machine is causing problems, you don't have to hire an expensive repair service straight away. With a few useful tips and a little manual skill, you can fix many problems on your rowing machine yourself. In this blog post, you'll learn how to proceed step by step to repair your rowing machine and get it fully functional again.
Basics about the cable pull system
Before you begin repairing it is important to understand the basics of the cable system on your rowing machine. The cable system consists of a steel cable that is connected to a resistance system via pulleys and pulleys. If the cable breaks or becomes tangled, it can affect the functionality of the rowing machine.
step-by-step repair instructions
Step 1: Check the rope for damage or signs of wear. If the rope is broken, you will need to replace it. Make sure you buy the right replacement part for your rowing machine.
Step 2: Disconnect the rope from the resistance system. Depending on the model of your rowing machine, this may be done using screws or other mechanisms. Be careful not to cause further damage.
Step 3: Remove the old rope and run the new rope through the pulleys and pulleys. Make sure the rope is properly tensioned to ensure a smooth rowing experience.
Tips for maintaining the cable pull system
To avoid future problems with the cable system, perform regular inspections and check the cable for wear or damage. Keep the cable clean and free of dirt or debris. Also, be sure to lubricate the pulleys and pulleys regularly to ensure a smooth rowing experience.
By taking cable system maintenance seriously and making repairs when needed, you can extend the life of your rowing machine and continue to enjoy effective workouts at home.